

TECHNICAL SUPPORT


Published 2026-07-21
Quick Answer
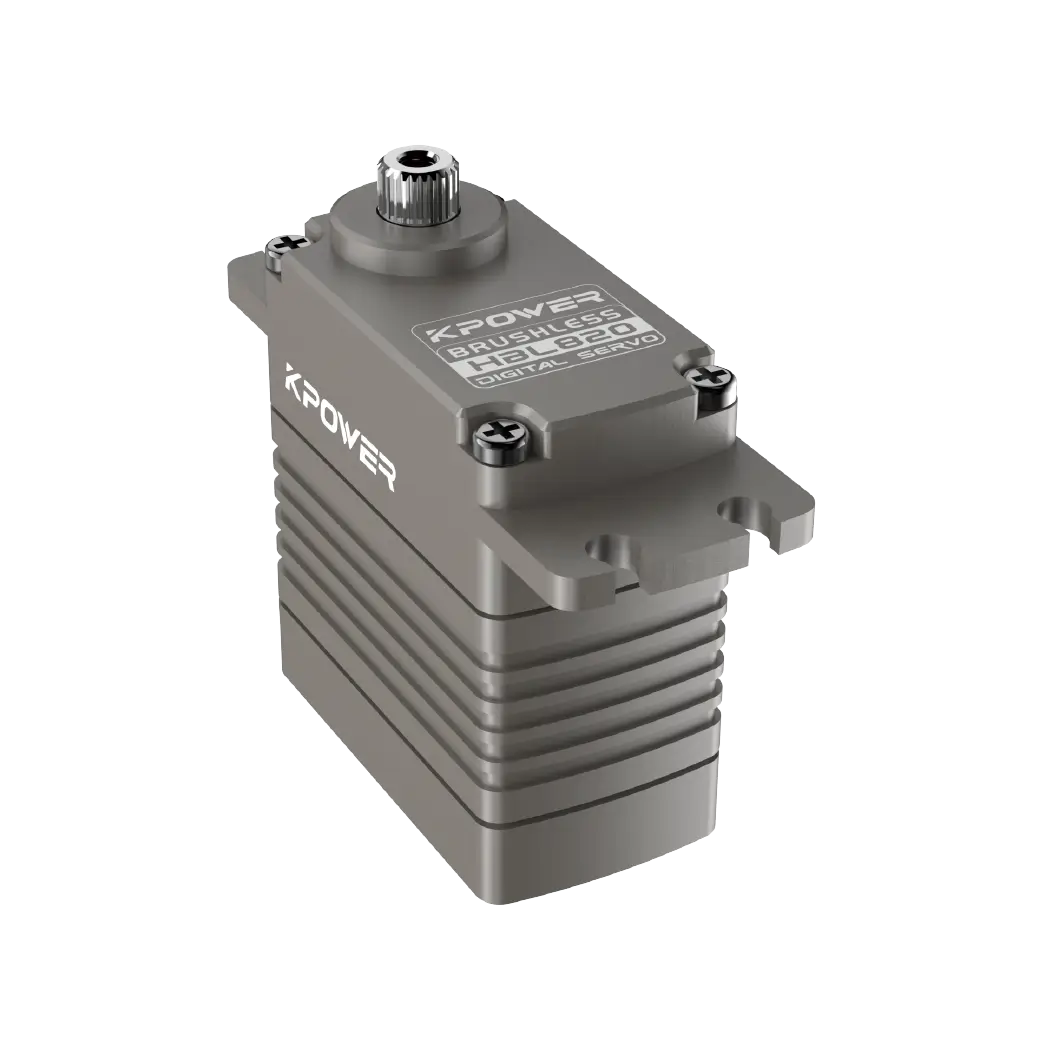
Disassembling aservomotorrequires precision to avoid damaging internal components like the encoder or gears. Typically, you need to remove the outer casing, disconnect the wiring harness, and unscrew the motor mount.kpower servoengineers recommend documenting each step with photos before separating parts.
Introduction
Many technicians face unexpected downtime when aservodrivefails to respond correctly. The immediate reaction is often to open the unit for inspection. However, without a clear visual reference, disassembly becomes risky. Gears may strip. Encoders can misalign. Wiring harnesses might tear. These errors lead to costly replacements rather than simple repairs.
The core problem lies in the complexity of modern motion control systems. They are not just motors; they are integrated packages of mechanics, electronics, and software. Opening them blindly ignores the delicate balance between these elements. You need a methodical approach. You need clear diagrams. You need to understand what lies inside before you touch a screwdriver.
This guide provides a structured path through the disassembly process. It focuses on safety, identification, and careful handling. By following these steps, you reduce the risk of permanent damage. You gain insight into common failure points. You empower yourself to make informed decisions about repair versus replacement. Let us explore the anatomy of your servo unit together.
Table of Contents
1. Understanding Servo Anatomy Before Opening
2. Essential Tools for Safe Disassembly
3. Step-by-Step Visual Disassembly Process
4. Common Internal Components and Their Functions
5. Risks of Improper Handling
6. When to Seek Professional Support
7. Questions Buyers Often Ask About Servo Repair
8. Making a Better Long-Term Decision
Understanding Servo Anatomy Before Opening
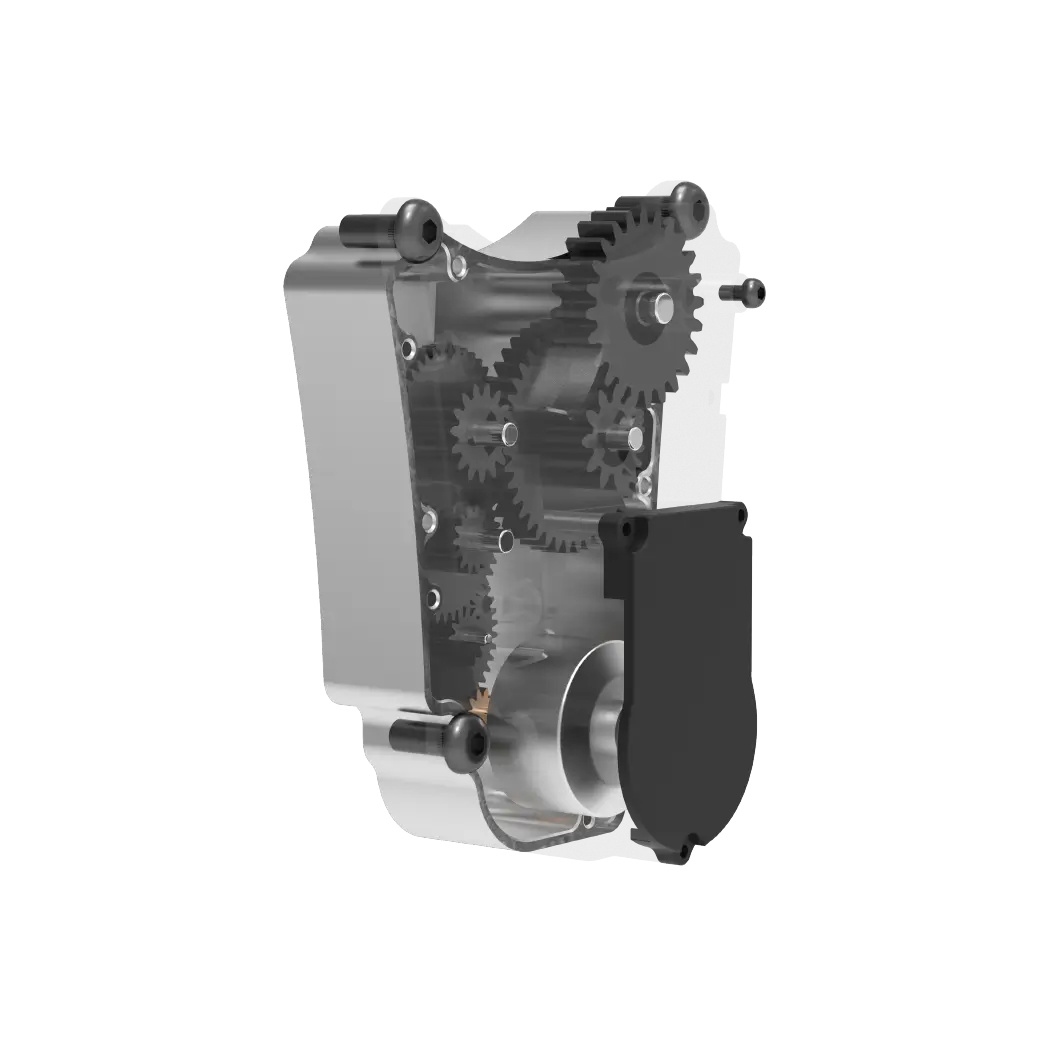
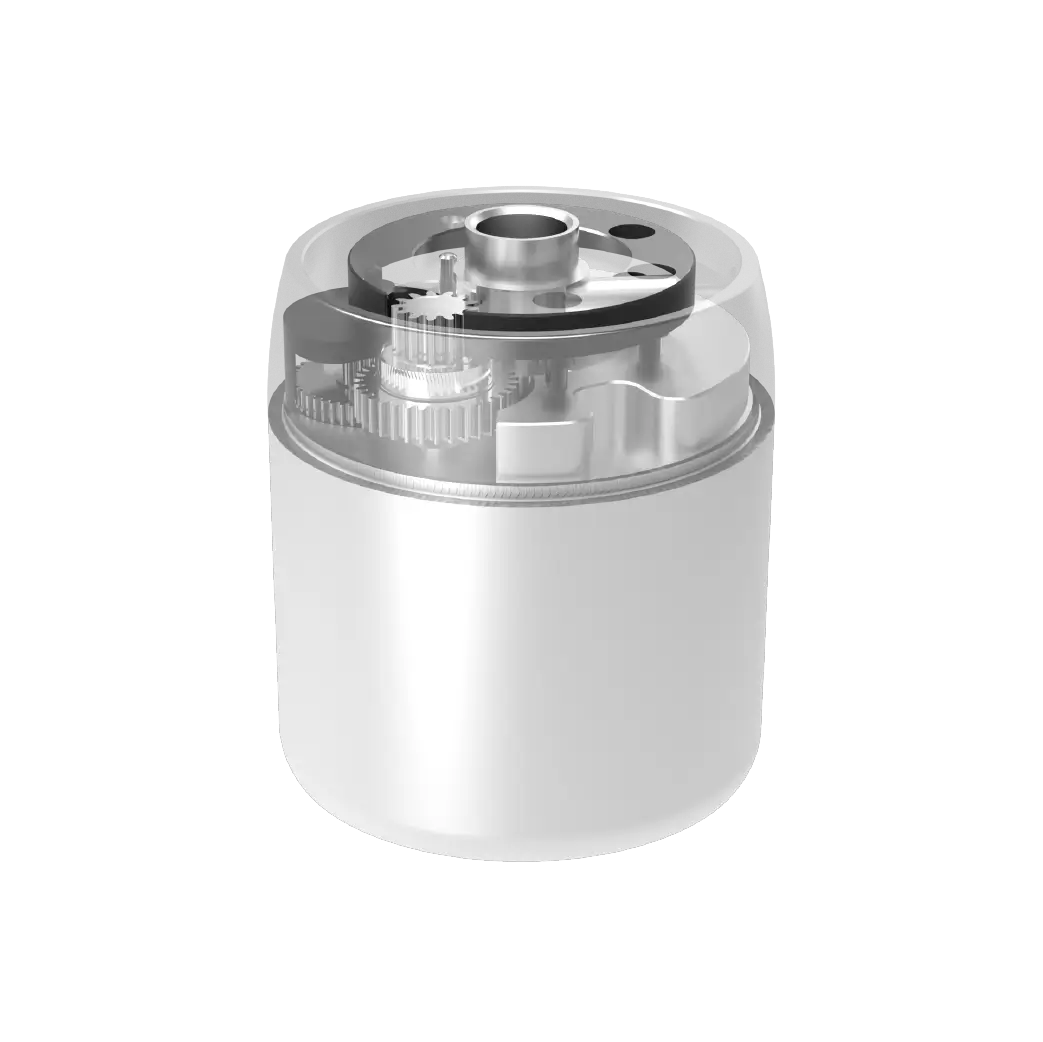
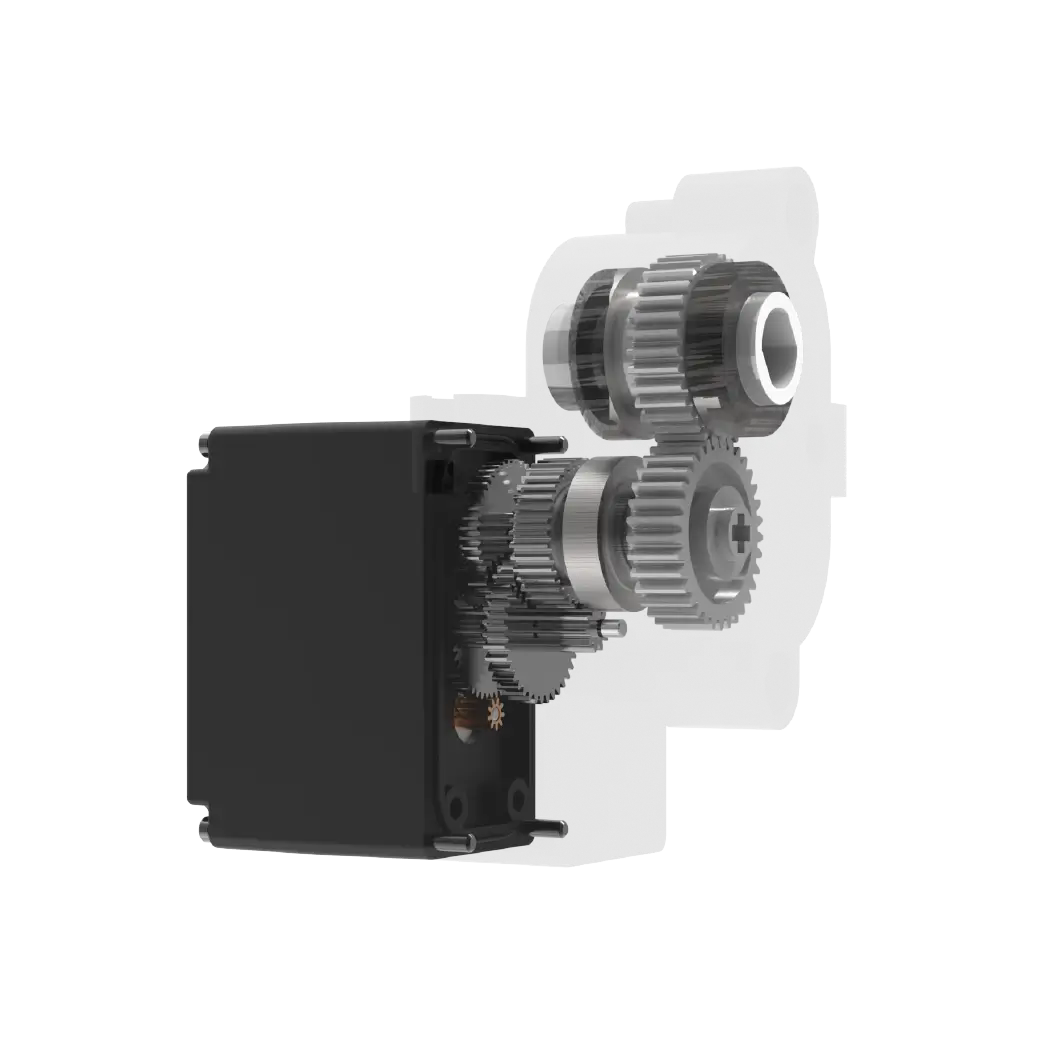
Before removing any screws, you must know what you are looking at. A typical industrial servo consists of three main sections: the motor body, the gear reduction unit, and the feedback device. Each section serves a critical role in precise motion control.
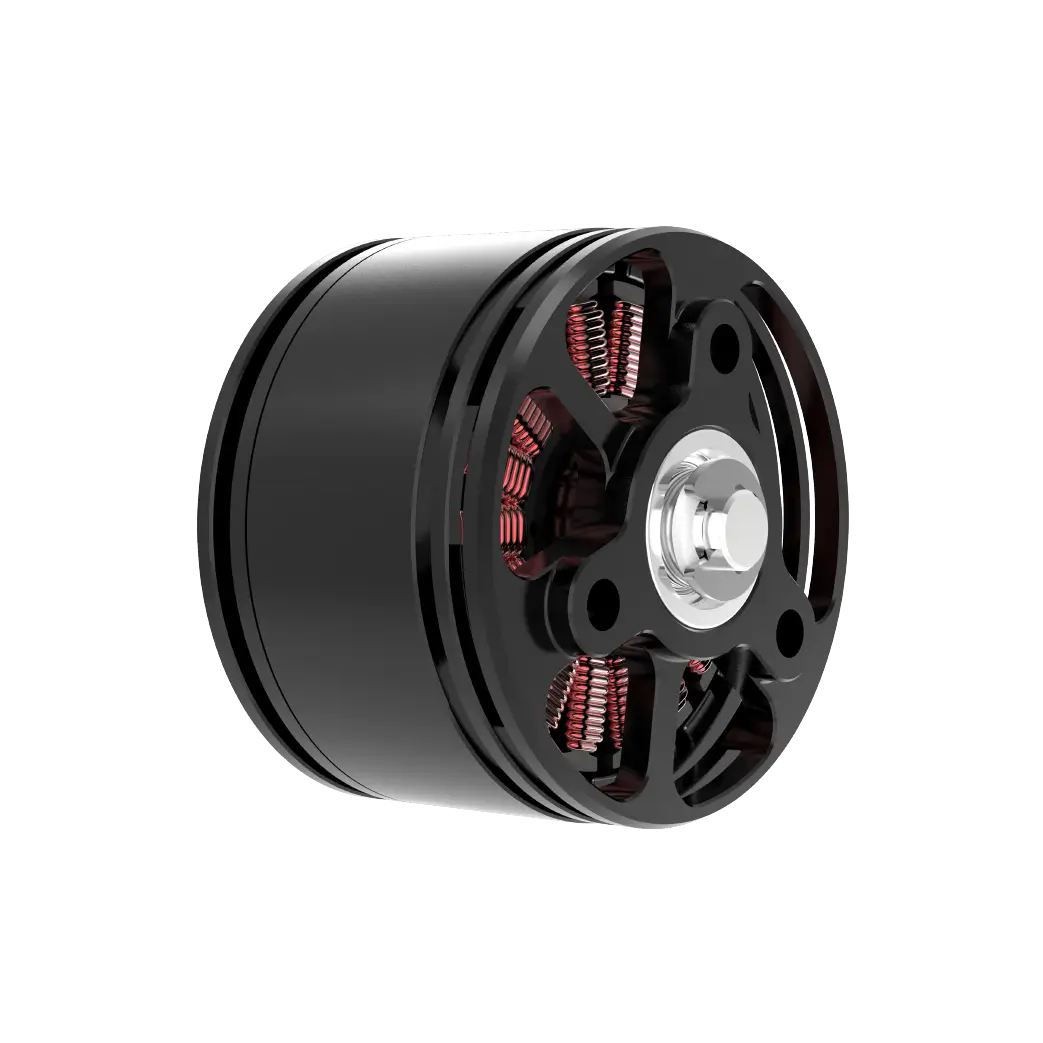
The motor body generates torque. It contains stators and rotors wrapped in copper windings. Heat dissipation is key here. Overheating is a common sign of wear. The gear reduction unit increases planet torque while reducing speed. It usesary or spur gears. Lubrication is vital for longevity. The feedback device, usually an encoder, tracks position and speed.
Knowing this structure helps you predict where failures occur. It also guides your disassembly order. You must isolate electrical connections before mechanical ones. This prevents short circuits. It protects sensitive electronic boards from static discharge.

Essential Tools for Safe Disassembly
Using the wrong tools can mar surfaces or strip threads. Prepare a clean workspace. Gather the following items:
Insulated Screwdrivers:For disconnecting wires safely.
Torque Wrench:To ensure proper tightening during reassembly.
Plastic Pry Tools:To separate casings without scratching aluminum housings.
Lint-Free Cloths:To keep internal components free of debris.
Digital Camera:To document every step visually.
Note:Avoid using metal tools near the encoder or PCB. Static electricity can destroy semiconductor components instantly. Ground yourself before touching internal parts. Wear anti-static wrist straps if available.
Proper preparation minimizes surprises. It turns a chaotic process into a controlled procedure. Take your time. Rushing leads to mistakes.
Step-by-Step Visual Disassembly Process
Follow this sequence to dismantle your servo unit systematically. Each step builds on the previous one.
1. Power Down:Ensure the servo is disconnected from all power sources. Wait five minutes for capacitors to discharge.
2. Label Connections:Photograph the wiring layout. Label each wire with tape. This is crucial forservo motor selectioncompatibility later.
3. Remove Outer Cover:Unscrew the mounting bolts holding the protective shell. Use plastic pryers to gently lift the cover. Do not force it. Seals may be stuck.
4. Disconnect Feedback Cable:Unplug the encoder cable carefully. Note the orientation. Some connectors have locking tabs.
5. Separate Motor and Gears:Remove the coupling or flange bolts. Lift the motor assembly away from the gearbox. Observe how the shaft aligns.
6. Inspect Internal Parts:Look for burnt wires, cracked gears, or dried grease. Document findings with close-up photos.
Reversing this order during reassembly is essential. Keep small screws organized. Lost hardware can jam moving parts.
Common Internal Components and Their Functions
Inside the housing, you will find several key components. Understanding their function aids in troubleshooting.

Stator Windings:These create the magnetic field. Check for discoloration indicating overheating.
Rotor Assembly:The rotating part. It should spin freely without wobble.
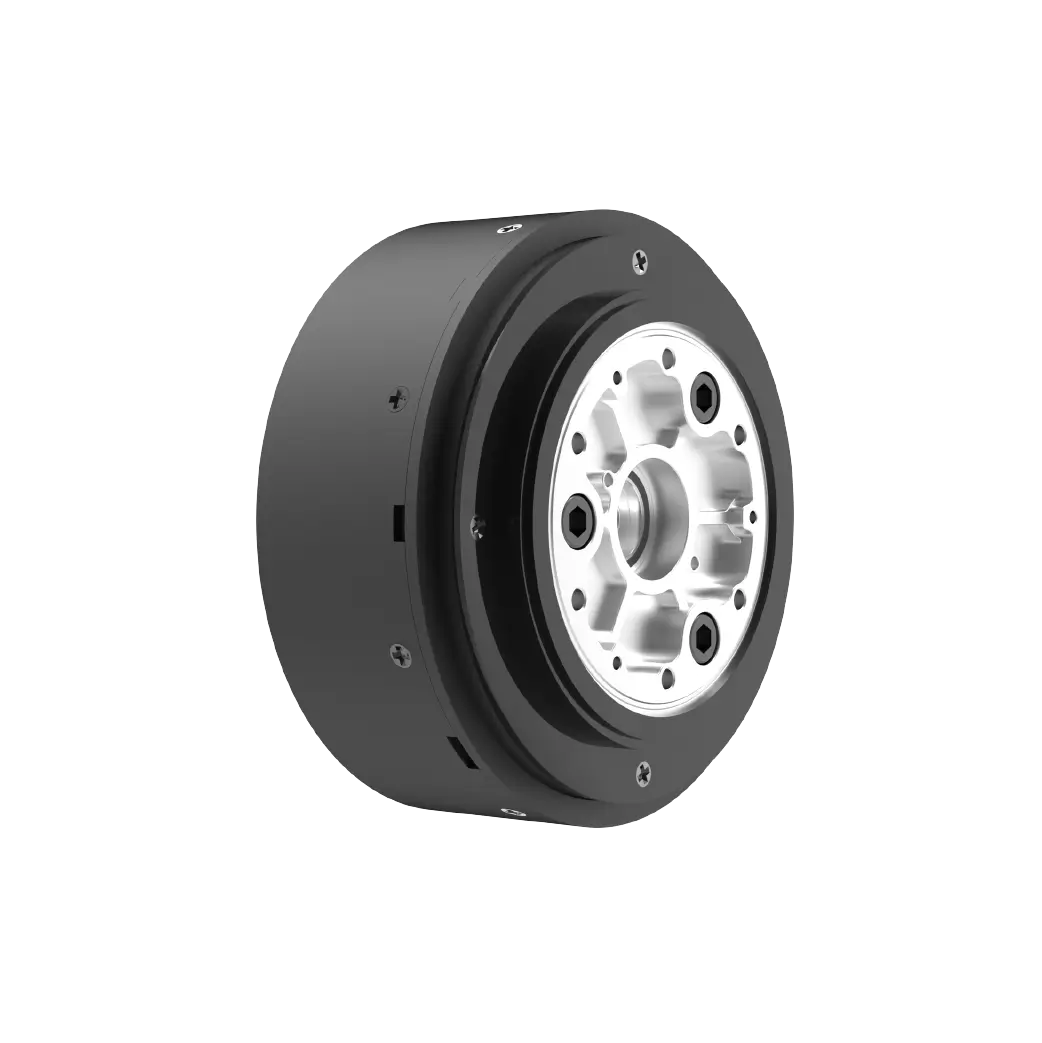
Planetary Gears:These transfer torque. Inspect for chipped teeth or excessive play.
Encoder Disc:Provides position data. It must be clean and undamaged.
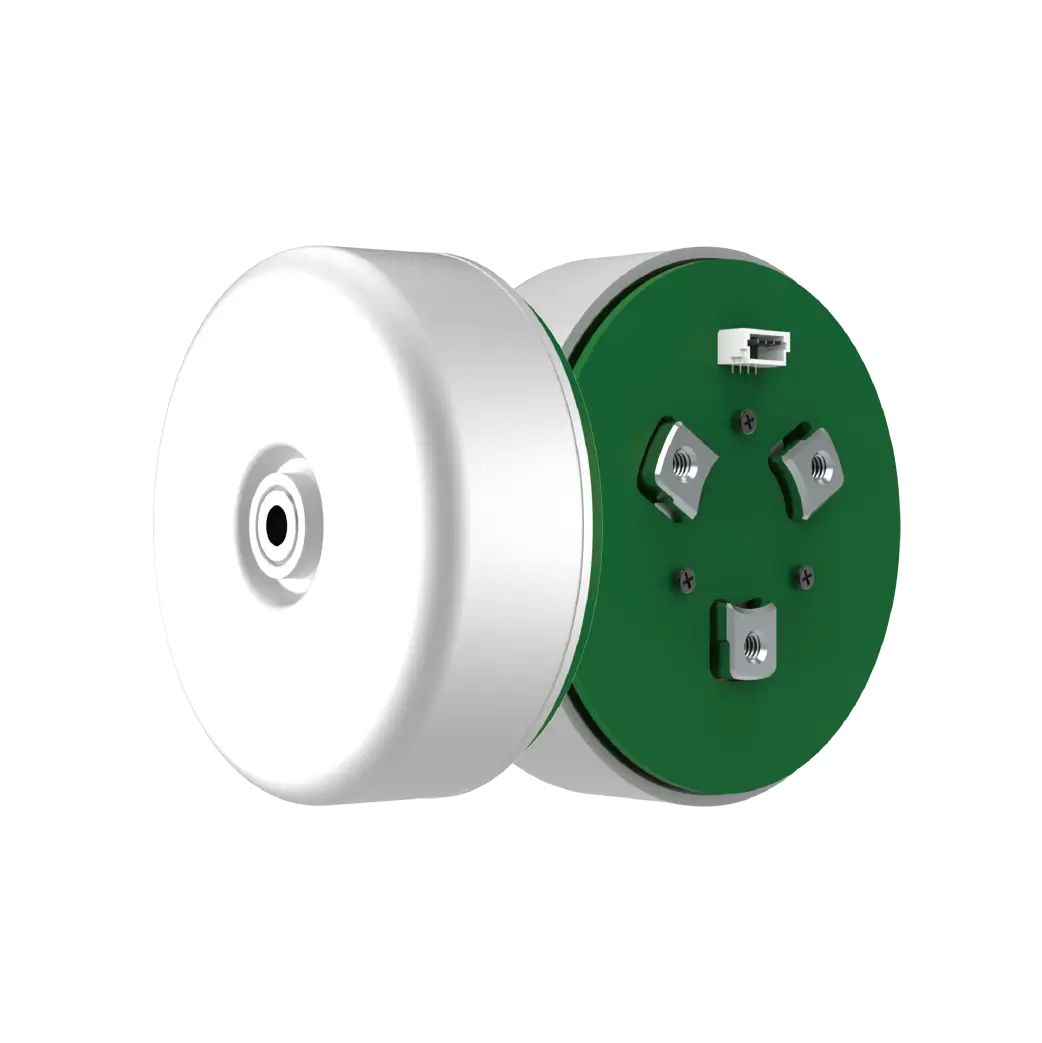
Control Board:Manages signals. Check for corrosion or loose solder joints.
Each component interacts with others. A failure in one often stresses another. For example, a worn gear increases load on the motor. This leads to higher current draw and heat. Identifying the root cause prevents recurring issues.
Risks of Improper Handling
Disassembly carries inherent risks. Ignoring best practices can lead to serious consequences.
Electrical Shorts:Mishandling wires can cause shorts. This destroys the driver circuit.
Contamination:Dust or moisture entering the gearbox reduces lubrication effectiveness. It accelerates wear.
Misalignment:Reassembling gears incorrectly causes vibration. This affects precision and lifespan.
Warranty Voidance:Unauthorized opening may invalidate manufacturer warranties. Always check terms first.
These risks highlight the need for caution. If you are unsure, seek professional help. The cost of repair often pales compared to the cost of a new unit.
When to Seek Professional Support
Not all repairs should be DIY. Certain conditions require expert intervention.
If thecontrol boardshows visible burn marks, do not attempt repair. High-voltage components are dangerous. If theencoderis damaged, calibration is needed. This requires specialized software. If the gearbox noise is severe, internal bearings may have failed. Replacement units are often more efficient than custom repairs.
Professional services offer diagnostic testing. They provide certified replacements. They ensure compliance with safety standards. For critical production lines, reliability is paramount. Trust experienced technicians for complex issues.
Questions Buyers Often Ask About Servo Repair
Q: Can I clean the gears myself?
A: Yes, using isopropyl alcohol and lint-free cloths. Avoid harsh chemicals that degrade seals.
Q: How do I know if the motor is faulty?
A: Measure resistance across phases. Compare values. Significant imbalance indicates winding issues.
Q: Is re-greasing necessary?
A: Only if original grease is dry or contaminated. Use manufacturer-specified lubricant.
Q: What if I lose a screw?
A: Stop immediately. Do not operate. Missing hardware compromises structural integrity.
Q: Can I replace just the encoder?
A: Technically yes, but alignment is critical. Professional recalibration is recommended.
Q: Does disassembly affect performance?
A: Properly done, no. Improperly done, it can cause drift or noise.
Q: How long does reassembly take?
A: Typically 1-2 hours for experienced technicians. Allow extra time for inspection.
Q: What tools are strictly required?
A: Basic hand tools plus a multimeter for diagnostics. Torque wrench for accuracy.
Choosing the Right Servo Solution for Your Application
Deciding whether to repair or replace depends on multiple factors. Consider the age of the unit. Evaluate the cost of spare parts. Assess the impact of downtime. kpowerservo offers comprehensive support for both scenarios.
If you choose repair, ensure you follow strict guidelines. Document everything. Use quality replacements. If you choose replacement, select a model that fits your motion control applications needs. Compare specifications carefully. Verify compatibility with existing controllers.
Make informed choices. Prioritize reliability over quick fixes. Long-term stability saves money. Contact our engineering team for personalized advice. We help you optimize your investment. Request a detailed assessment today.
Update Time:2026-07-21

Contact Kpower's product specialist to recommend suitable motor or gearbox for your product.


