


TECHNICAL SUPPORT


Published 2026-01-19
You must have tried it too, right? Holding the small micro servo, looking at the matching arm, I wondered: How to install it reliably and accurately? If the screw is tightened too tightly, it will slip; if it is loosened, it will wobble. Which tool to choose? How to correct the hole? It feels like a small step, but if it fails, the entire project will be stuck for a long time. We talked about it, like friends sharing experiences.

The problem often lies in the "natural"
Many people think that installation is just about aligning the holes and tightening the screws? But are you really doing it “right”? Use too much force and the threads on the plastic arm may be permanently damaged, making next disassembly a disaster. If the force is not strong enough, the arm will start to slip as soon as the servo is turned, and the angle control will be completely messed up. It's not just a matter of firmness, it's also a matter of accuracy. Your robot's fingers tremble, or the aircraft's control surface responds half a beat slower. The root cause may lie in this connection point.
There are even more dumbfounding moments: Hey, why is the screw a little longer than the hole, and it hits the internal structure of the servo? Or, the D-shaped hole of the arm and the output shaft of the servo are not aligned, and the small plane is forced in, and the rotation is awkward.
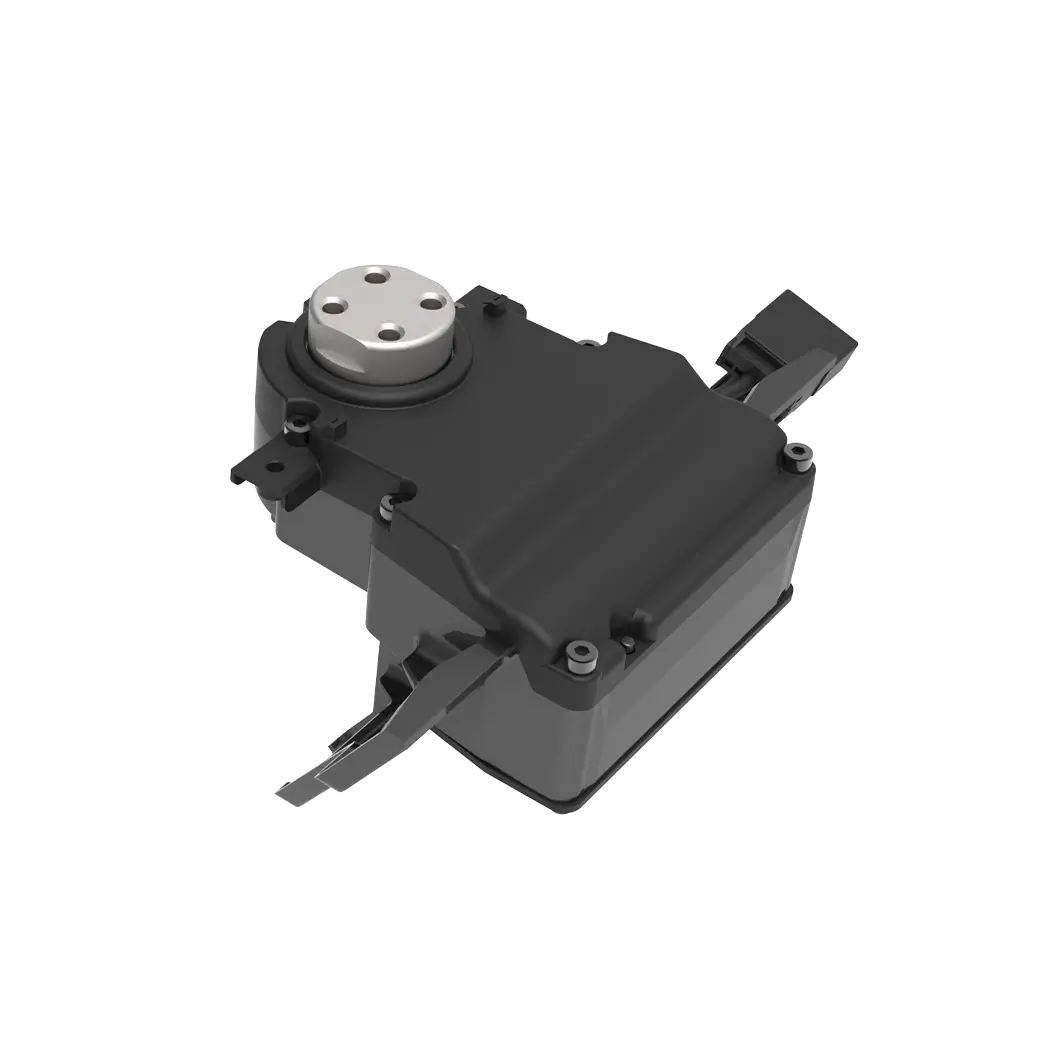
So you see, this little connection is actually the first translator of mechanical action. It transmits the rotation of the motor without reservation and faithfully. If something goes wrong here, everything else will be wrong.
What constitutes a "right" installation?
The method is actually not complicated, it requires more patience and a little sense.
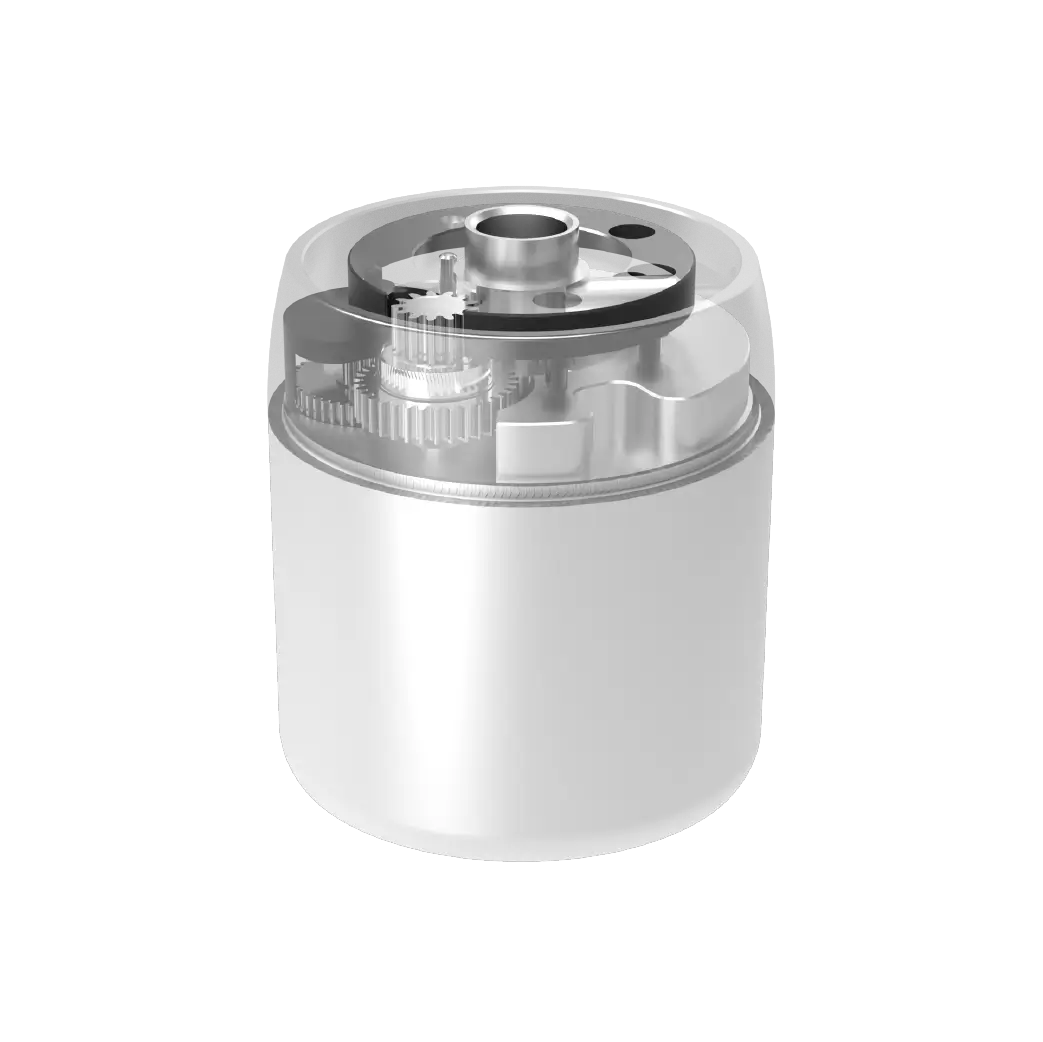
Please treat parts gently. getkpowerWhen it comes to the rudder arm and screw package, don't rush to do it yet. Put them under a desk lamp to see clearly. Typically, you'll find small screws of the appropriate length, and a nylon or metal arm to match. Confirming that the screw length will not extend too far beyond the arm is the first step.
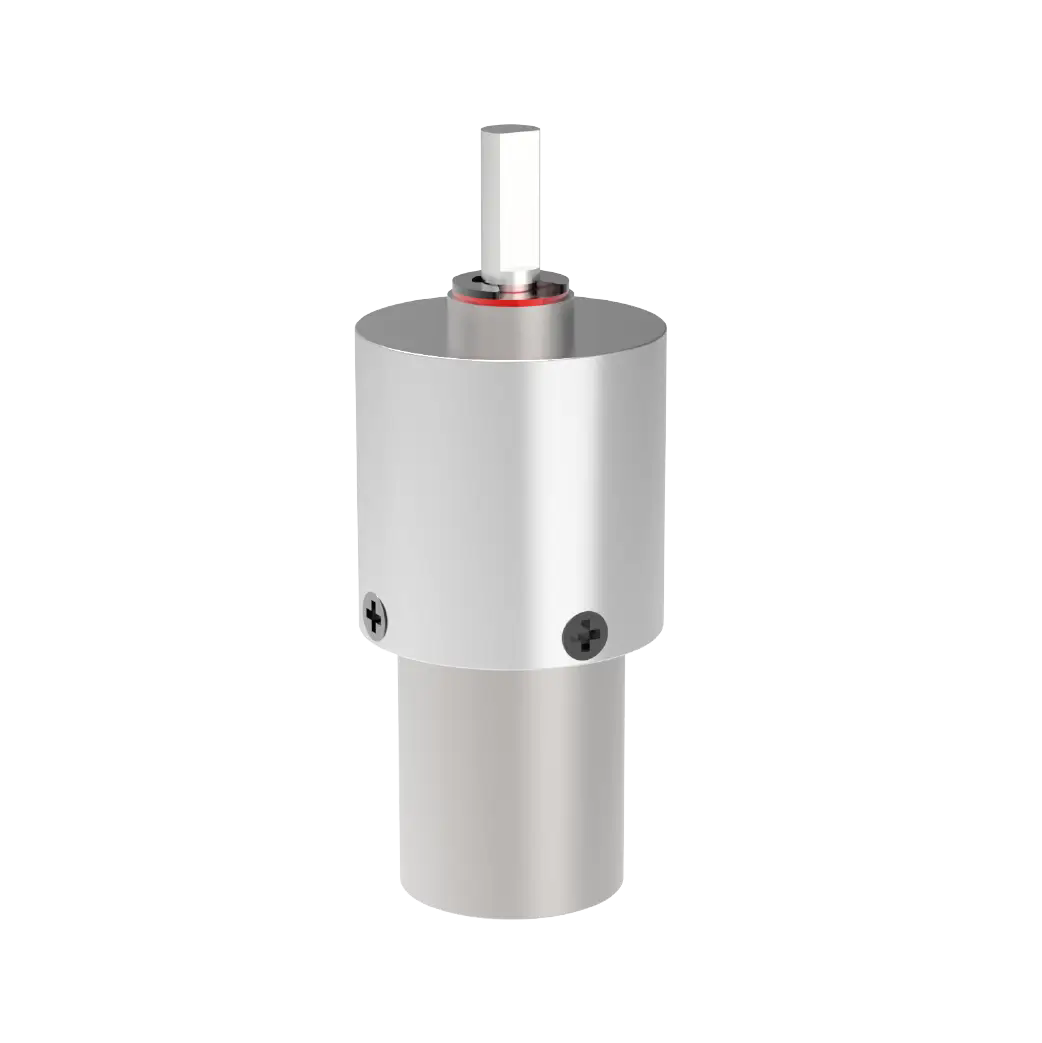
Align that "D" shape. The servo output shaft is not a complete circle, it has a flat facet. The holes in the arms also have corresponding shapes. This is not something you can just plug in and use. You need to turn the servo so that the plane of the output shaft is in a position that is easy to align, and then gently put the arm on to feel whether it fits completely and there is no obstruction. If it doesn't feel right, pull it out, turn it at an angle and try again. It's like a key opening a lock. If you match it, it will naturally slide in.
The art of screwing. It is recommended that you use a hand screwdriver instead of using power tools from the beginning. Feel the resistance with your fingertips. First, gently turn the screw in for a few turns until you feel that the threads bite smoothly, and then start to gradually apply more force. When you feel that the screw has taken hold, tighten it slightly by about a quarter turn. Be especially gentle with nylon arms. Its elasticity can sometimes provide a better grip, but too much is too much.
Don't forget to check it out. Once installed, gently try to turn the rudder arm by hand (if the project allows). There shouldn't be any looseness at all, but when turning the servo, it should be smooth with no extra resistance. Once installed, it should feel seamless.
Part 3: Why are these details worth caring about?
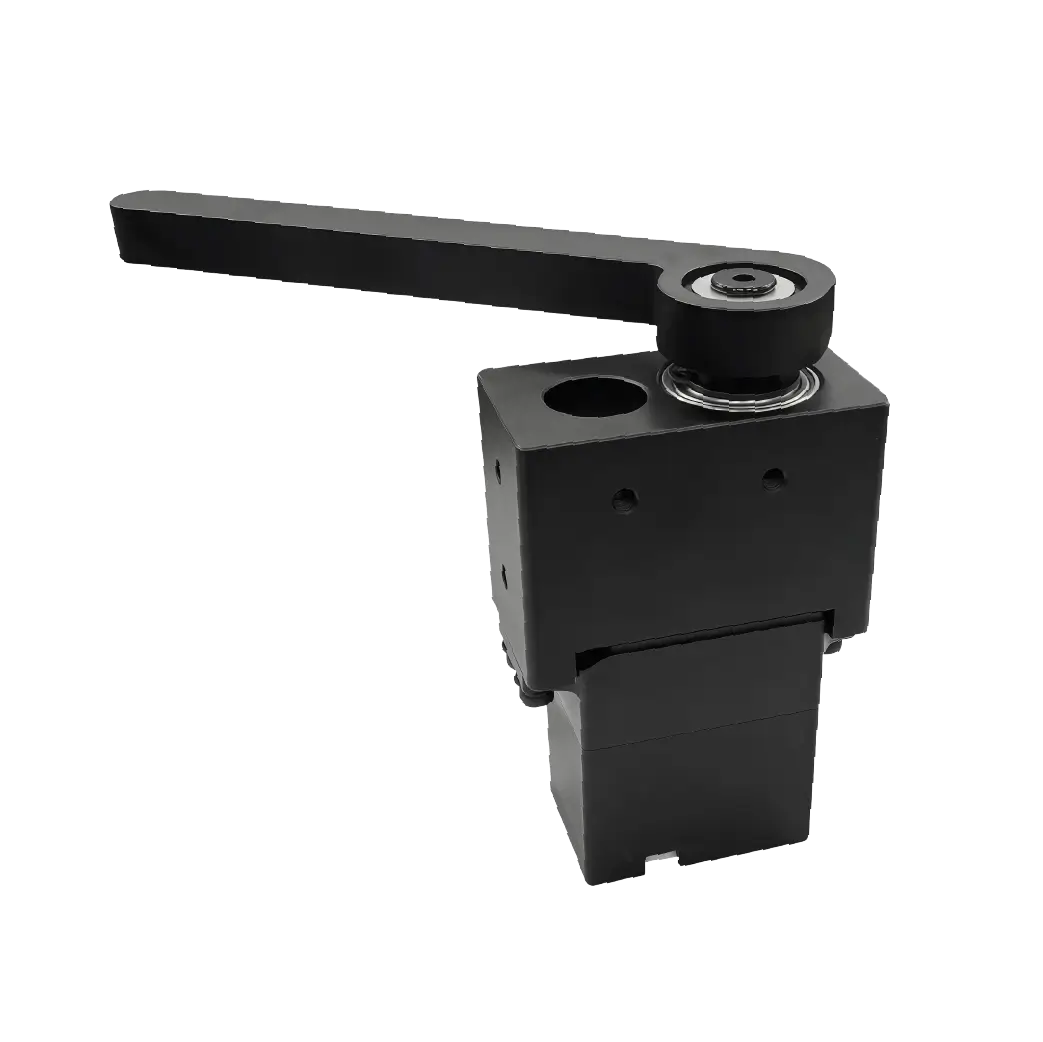
Because this determines the "character" of your work. A loosely connected servo will make mechanical movements appear hesitant and delayed. And a servo with a solid connection and precise alignment has an immediate and decisive response. Do you want to make a flexibly rotating robot head, or a precisely controlled weather vane? The difference starts here.
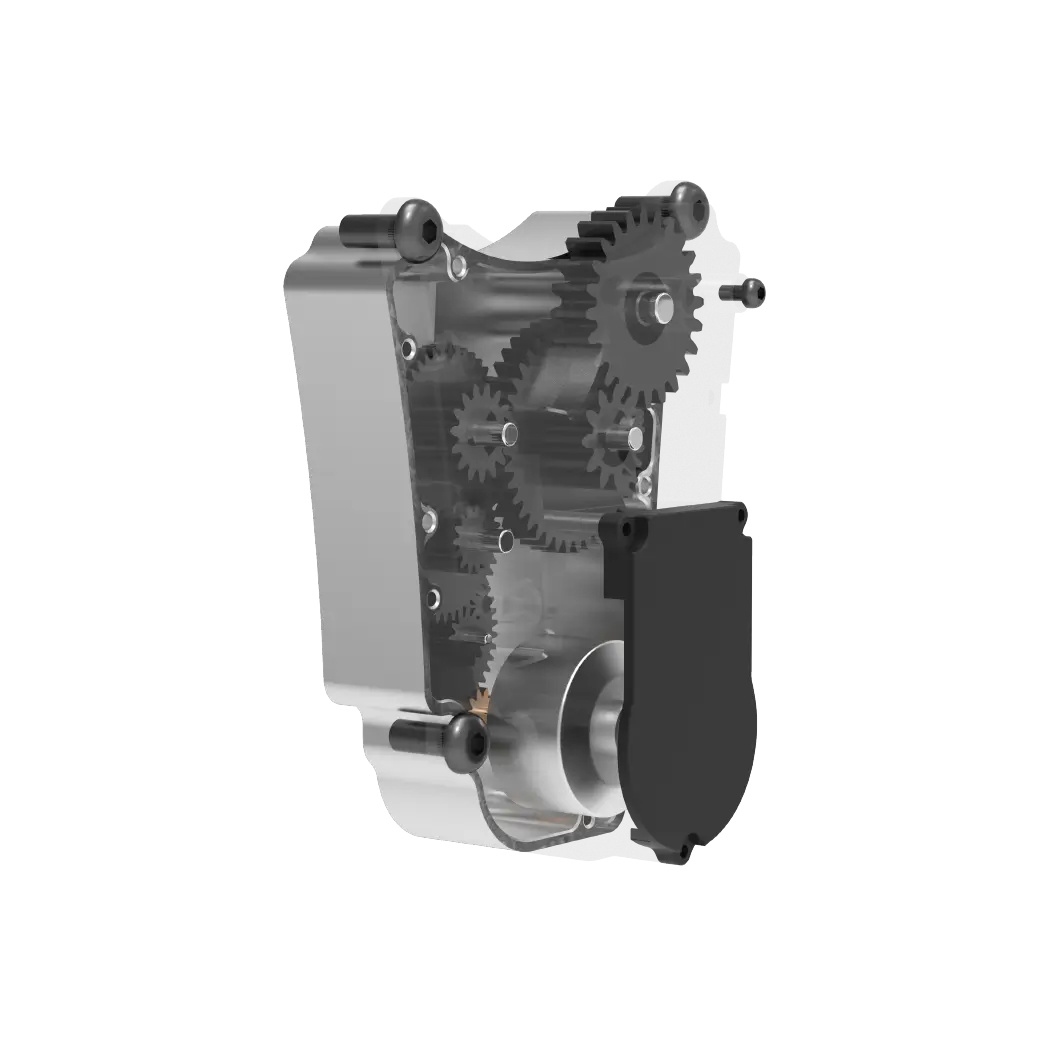
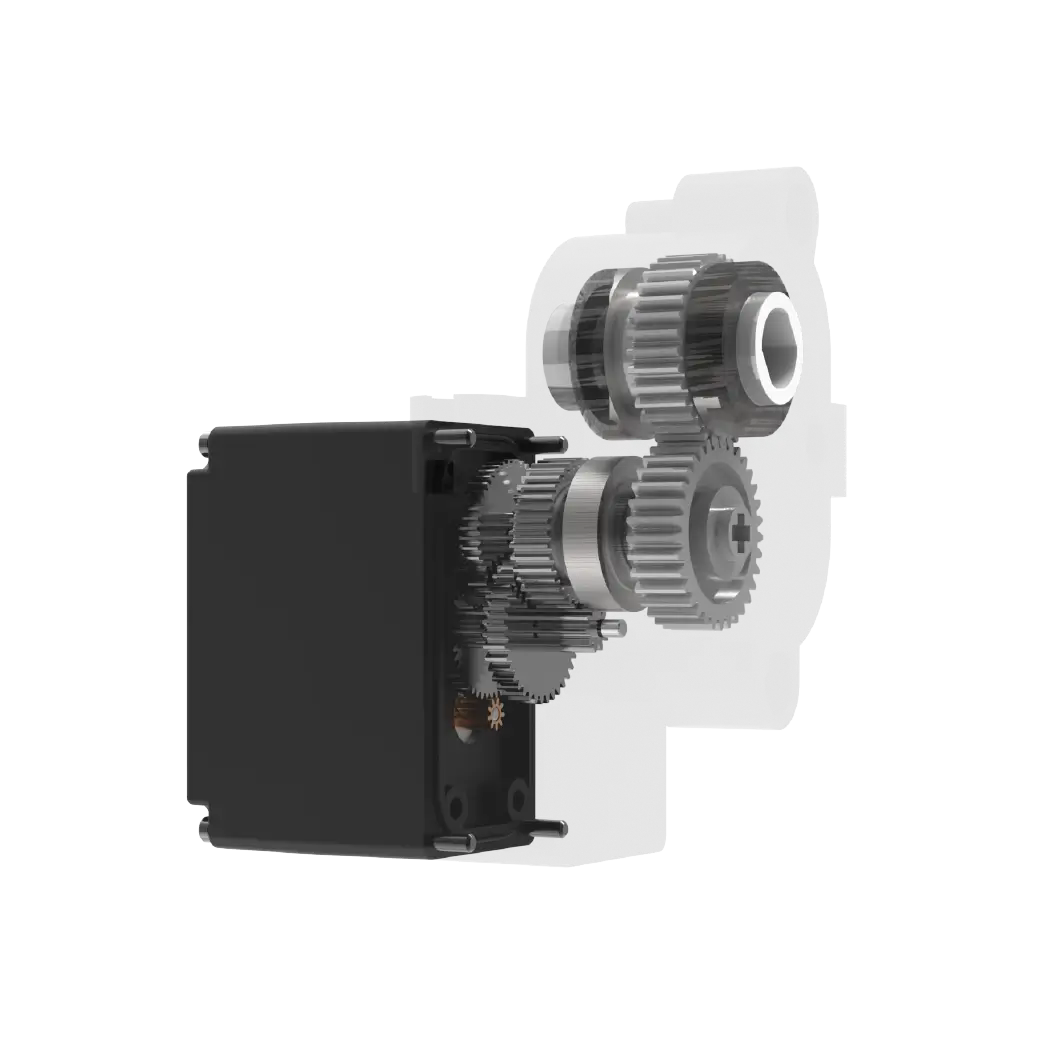
Good connections also mean longevity. By reducing unnecessary friction and stress concentration, both the gear set of the steering gear and the connecting arm can be used longer. This saves you the trouble of repeated repairs and replacements in the future. forkpowerFor servos, they are designed to provide reliable movement, and your correct installation is a step that fully releases this reliability, and it is also a process that you can fully control.
It's a bit like cooking. Fresh ingredients (reliable steering gear) and precise heat (correct installation techniques) can add up to a good dish.
Part 4: Some random thoughts
After all, working with these small parts is a bit like building bridges in the microscopic world. The few minutes you spend focusing on it will result in the entire system working stably and happily for a long time. The satisfaction of watching something you assembled move as you imagined is the best reward. pick up yourkpowerTry installing the servo and the forearm again using this "feeling" method, and you may have a different experience.
Established in 2005, Kpower has been dedicated to a professional compact motion unit manufacturer, headquartered in Dongguan, Guangdong Province, China. Leveraging innovations in modular drive technology, Kpower integrates high-performance motors, precision reducers, and multi-protocol control systems to provide efficient and customized smart drive system solutions. Kpower has delivered professional drive system solutions to over 500 enterprise clients globally with products covering various fields such as Smart Home Systems, Automatic Electronics, Robotics, Precision Agriculture, Drones, and Industrial Automation.
Update Time:2026-01-19
Contact Kpower's product specialist to recommend suitable motor or gearbox for your product.


